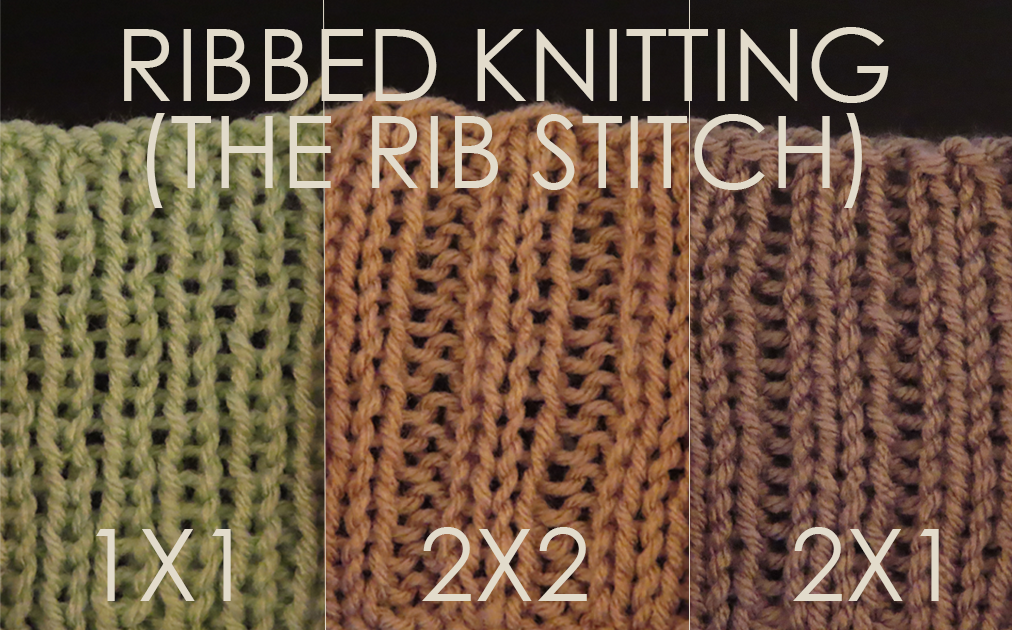


If you are a beginner, this stitch will be great to learn and apply to your future knitting projects!
The texture of this pattern looks seemingly complicated, but it is no doubt a simple and enjoyable knit. When finished, your patterning should look like a bunch of seed sprouts planted in a garden bed.
Lets get started!
Things you’ll need:
-
Yarn of choice
-
Needles of choice
Notes:
-
The patterns for both flat and circular knitting of this pattern are included here.
Seed Stitch Part 1: Knitted flat
Prep Step!
Cast on any odd number of stitches to your needle.
Don’t know how to cast-on? Check out this tutorial on How to Cast On Stitches!

Step 1
*K1, P1* until last stitch.
The *asterisks* that you see mean you should repeat the stitches between them until you hit the last stitch.
These asterisk symbols are found A LOT in knitting patterns, and are VERY IMPORTANT when following a knitting pattern!

Step 2
K1 (Knit the last stitch).

Repeat
Repeat Row 1 until desired length of knitting is reached.
Finish!
Cast off while following the Knit and Purl stitch pattern of Row 1.

Your finished pattern should look the same on both the front and back of the piece.
Seed Stitch Part 2: Knitted Circular
Row 1
(CIRCULAR)
*K1, P1* until last stitch in round, K1.
The *asterisks* that you see mean you should repeat the stitches between them until you hit the last stitch.
These asterisk symbols are found A LOT in knitting patterns, and are VERY IMPORTANT when following a knitting pattern!

Row 2
(CIRCULAR)
*P1, K1* until last stitch in round, P1.
If you look closely, the difference between this row and the last one is that they are opposites! The knits are purls and the purls are knits!
This is because we are no longer working flat, and no longer flipping the work around. In circular knitting, we working on only the right side of the work, and never the wrong side.

Finish!
Cast off the stitches on your needle while following the Knit and Purl stitch pattern of Row 1.


Recent Comments